Boy’s Room

Charlie's room1

My Boy is growing up so quickly, it is time to change his nursery into something more grown up (perhaps even move him in with his older sister). Before it is dismantled, I decided to take a few more photos of his first room and share some ideas that made up his room. In a way – immortalize the memory.

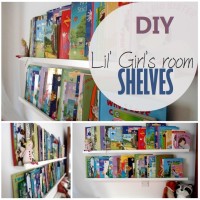
I have posted about shelves in Charlie’s room before, and mentioned briefly how kids’  rooms are ever changing, adapting to new needs, both mummy and baby.

For now, this is Charli’s baby room.

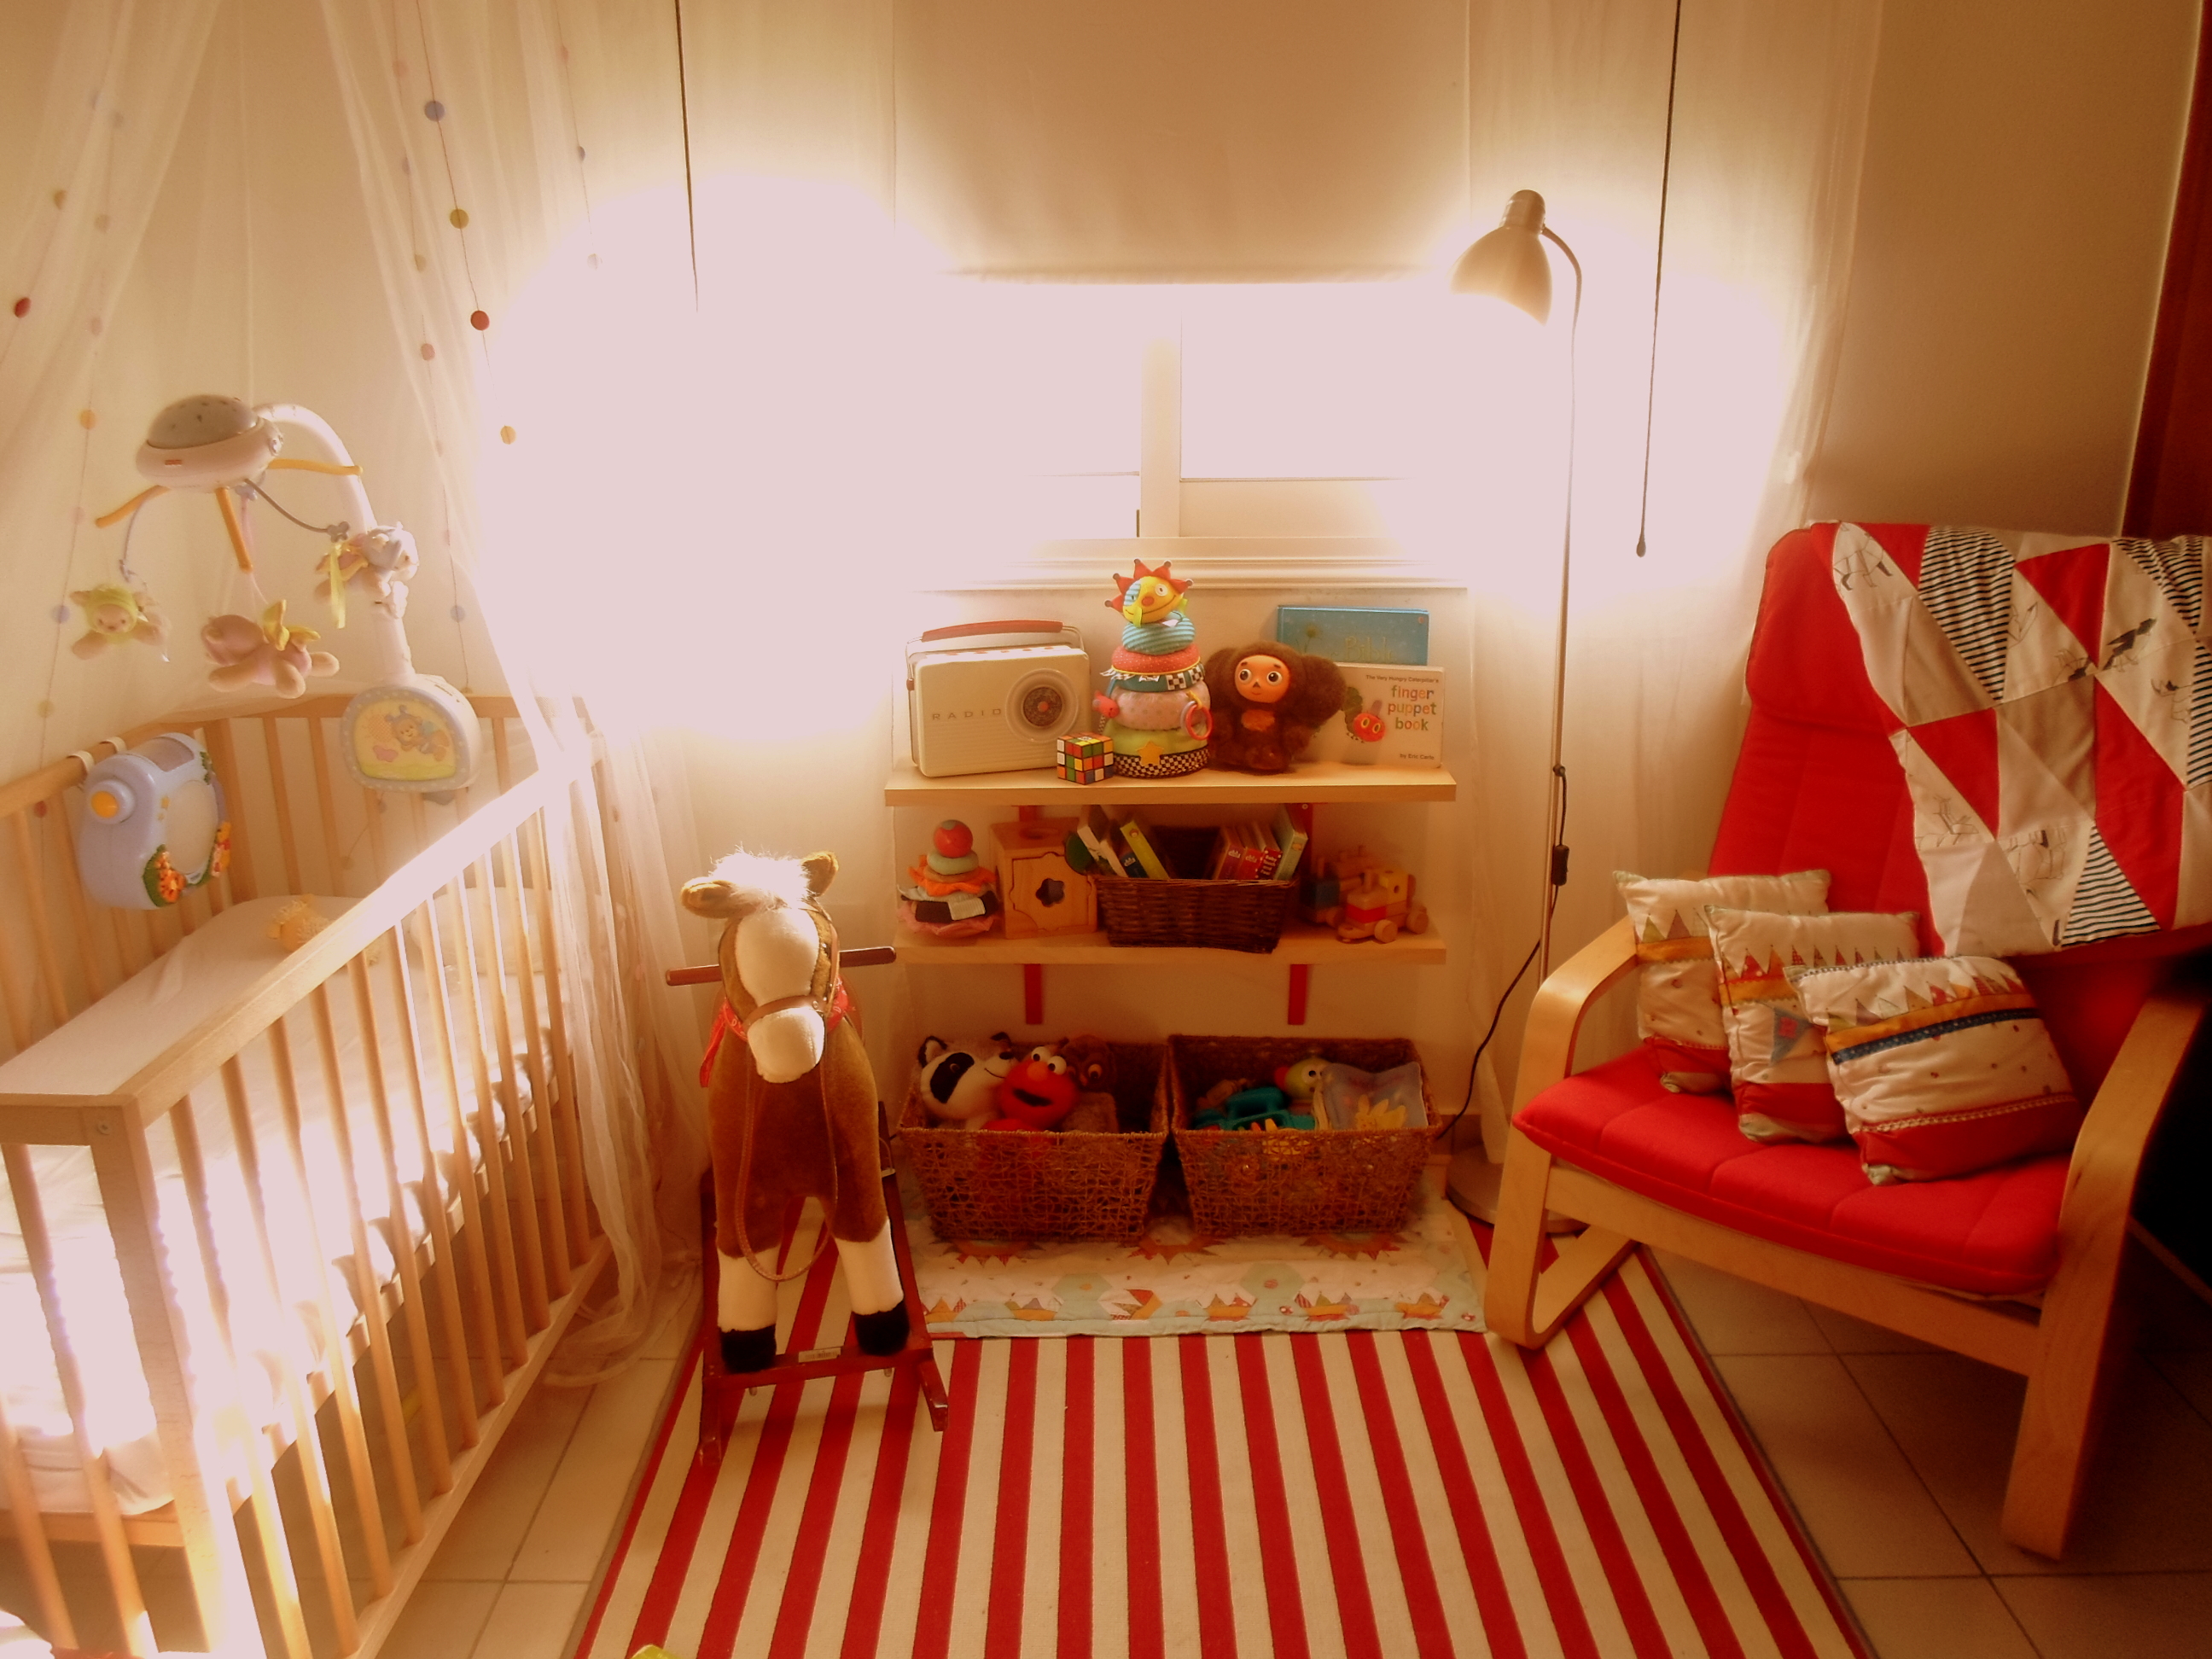
From his older sister, Charlie inherited a red Ikea chair with a matching foot rest, a baby cot and a red stripy carpet. That’s a lot of red for a boy’s room. My solution was to add a neutral colour or a colour that would sort of neutralise red. Adding turquoise seemed like a good idea, and consequently, a theme started developing. I think it all became somewhat circus inspired.

Charlie's room3

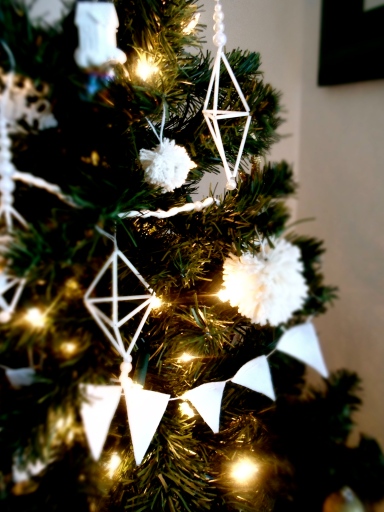
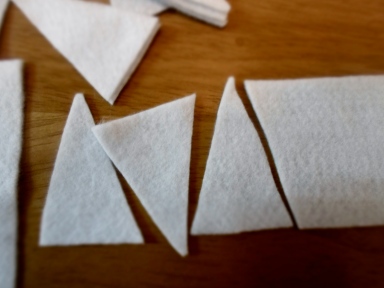
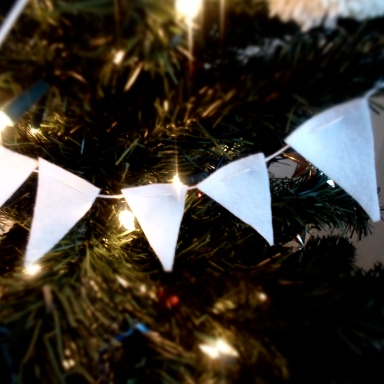
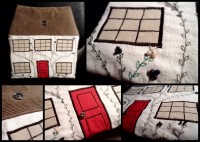
I miraculously found some time (with a toddler and a baby!!!) to paint a very simple triptych arrangement  of some bunting on blue sky. I also found a blue lampshade and decorated that with white felt cloud cut-outs. Another wall decoration was a cross-stitched Russian Alphabet. Love that!

Charlie's room2

An old moses basket (and when I say old, I mean old – it was not safe to pass on to another baby) became a toy basket and hid under a foot stool.

SAM_2423

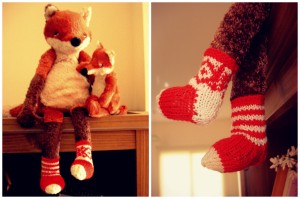
Some of my favourite toys made it to Charlie’s shelves – a retro radio tin, a soft stacking toy, Cheburashka, Elmo and some other treasures. A rocking horse found its place in the room, too.

SAM_2436

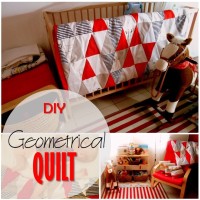
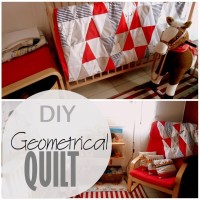
For Charlie’s first Christmas I made him a beautiful triangle inspired quilt, a tutorial for which you can find there, too.

A sweet little room where Charlie and I spent many hours – laughing, crying (mainly Charlie) and bonding. I will miss this room, just like I will miss my little-baby-boy year. Now,   I will look forward to creating a fun-filled big boy room and all the fun memories we will make there.

If you liked this room, check out more here:

Blog thumbnail - Geometrical quilt    Blog thumbnail - Lil' girls' room shelves    Blog thumbnail - My kids play house

DIY – Chalkboard Dollhouse

Blog thumbnail - DIY Chalkboard Doll house

There is something about little houses that really appeals to me. And to my daughter, too. Especially one that you can draw on with chalk!

I had a laminated shelf that I wasn’t sure about how to re-purpose, until this little idea came along. I love it when I have everything I need for a particular craft. I just had to pull out some black chalkboard paint, sponge roller and some slim masking tape. The rest is up to your imagination.

1504959_10152759556270616_1628215280_n

I have also attached two hooks at the back to hang on the wall. It will go beautifully in our play house.

SAM_5948

Make it and love it!

If you enjoyed this post, perhaps you will be inspired by these, too:

Blog thumbnail - My kids play house Blog thumbnail - DIY Keepsake Shelves Blog thumbnail - DIT Chalk Board Paint

DIY – 4 Easy Christmas Ornaments

   Slide1

Of course, these trending Pins were going to creep up onto our Christmas trees. This year they have sojourned everywhere – onto leggings, quilts, wall art, kids’ rooms, bracelets, etc. Just so happened, Christmas came, and the “trend” was all over it.

SAM_5860

If you were on the moon, and missed the trends, here is the review:
Ornament 1: Bunting.

This particular “Bunting-gone-Christmas-Tree-Ornament” is simply some felt cut into triangle shapes and threaded together. Super easy, super cute!

SAM_5831

Cut a strip of felt into triangles and thread through with white thread.

SAM_5834   SAM_5858

Ornament 2: Himmeli

Himmeli is big this Christmas. Must be because of the strong geometrical trend.

There are so many brilliant tutorials out there. Google any one of them and you won’t regret it. However, I haven’t come across even one that would give you this hint: use cotton buds! Other tutorials suggest using straws, cocktail sticks, actual straw, etc, however cotton buds are the cheapest, sturdiest, most durable and white. Don’t buy Johnson’s brand though, as their sticks are compressed paper and not plastic tube that you need.

SAM_5833

Cut of the tips and use the tubes. With so many tutorials out there, I am afraid to infringe someone’s copyright, so my advice – google it. Cheeky me!

SAM_5859

Ornament 3: Cotton bud garland

What to do with all those cotton bud tips we’ve cut of for the above ornament? Thread them into a cute garland!

SAM_5844

Alternate with some beads every now and then, and you are set!

SAM_5845

Beautiful!

SAM_5873

Ornament 4: Pompoms

SAM_5838

Twist some yearn around a fork, tie and knot tightly around the center, cut the loops and fluff it up!

SAM_5847

You could trim them some more and even machine wash them in the delicates bag to make them more even, but I like a more handmade look to my pompoms.

SAM_5857

This is it! Decorate away!

   SAM_5869

Make it and love it!

If your Christmas tree is fully decorated, maybe you are thinking what to put under that tree. Here are some suggestions:

Desktop    House cushion    Blog thumbnail - DIY Geometrical Quilt

Tights and varnishes

Print

Yet another old trick that I grew up with, but I am learning that the new generation is not too familiar with! Growing up, every girl I knew carried a bottle of clear nail varnish in her purse. Whether that was to touch up her manicure or stop a run in her tights, it is what we did. I consider it noble to share my refined knowledge.

Extending Tights’ Life Expectancy

Print

For me, a pair of tights is definitely a wardrobe necessity, but one I dread most. I would go through at least 10 pairs a season, and that really adds up. However, lucky for me, a simple secret has been shared with me, revealing how to extend the tights’ life expectancy.  And now, lucky for you, I am sharing the secret with you.

I’ve even drawn up a simple diagram. I hope its simple anyway.

Basically, what you do is start by buying two identical pairs. That’s an easy one as in Cyprus we often have 1+1 offers. Then the inevitable happens – you get a hole and a run in one leg.  Simply cut that side off just above a thigh. Lay it aside till later. When the same unfortunate event happens to the other pair of tights, do the same, by cutting a side off. When you have two halves, simply wear one over the other. Don’t worry if the run happens on the same side of both pairs – usually tights don’t have a front or a back, so the legs can be alternated.

And so, this is a “third” pair, paying for only 0ne!