6 Awesome Dollhouse DIYs

Blog thumbnail - DIY 6 dollhouse crafts

Tinkering with dollhouse again? What?! Yep, it’s true! I have managed to put together a beautiful sitting room of wonderfully eclectic style pieces – pretty much all handmade from materials that anyone could easily find around their house. I love making something out of nothing and this is one of my ultimate creations! This is what the room looks like:

SAM_6876

With every DIY, you will find a quick picture instruction or a link to where a coherent tutorial might be found. With these simple 6 Dollhouse DIYs, you will pretty much complete one whole room! Enjoy!

1. Popsicle stick frame

Blog thumbnail - DIY Popsickle stick frame2

You will need 4 Popsicle sticks, a tiny picture that you are wishing to frame, some cardboard and a glue-gun! Then follow the following steps:
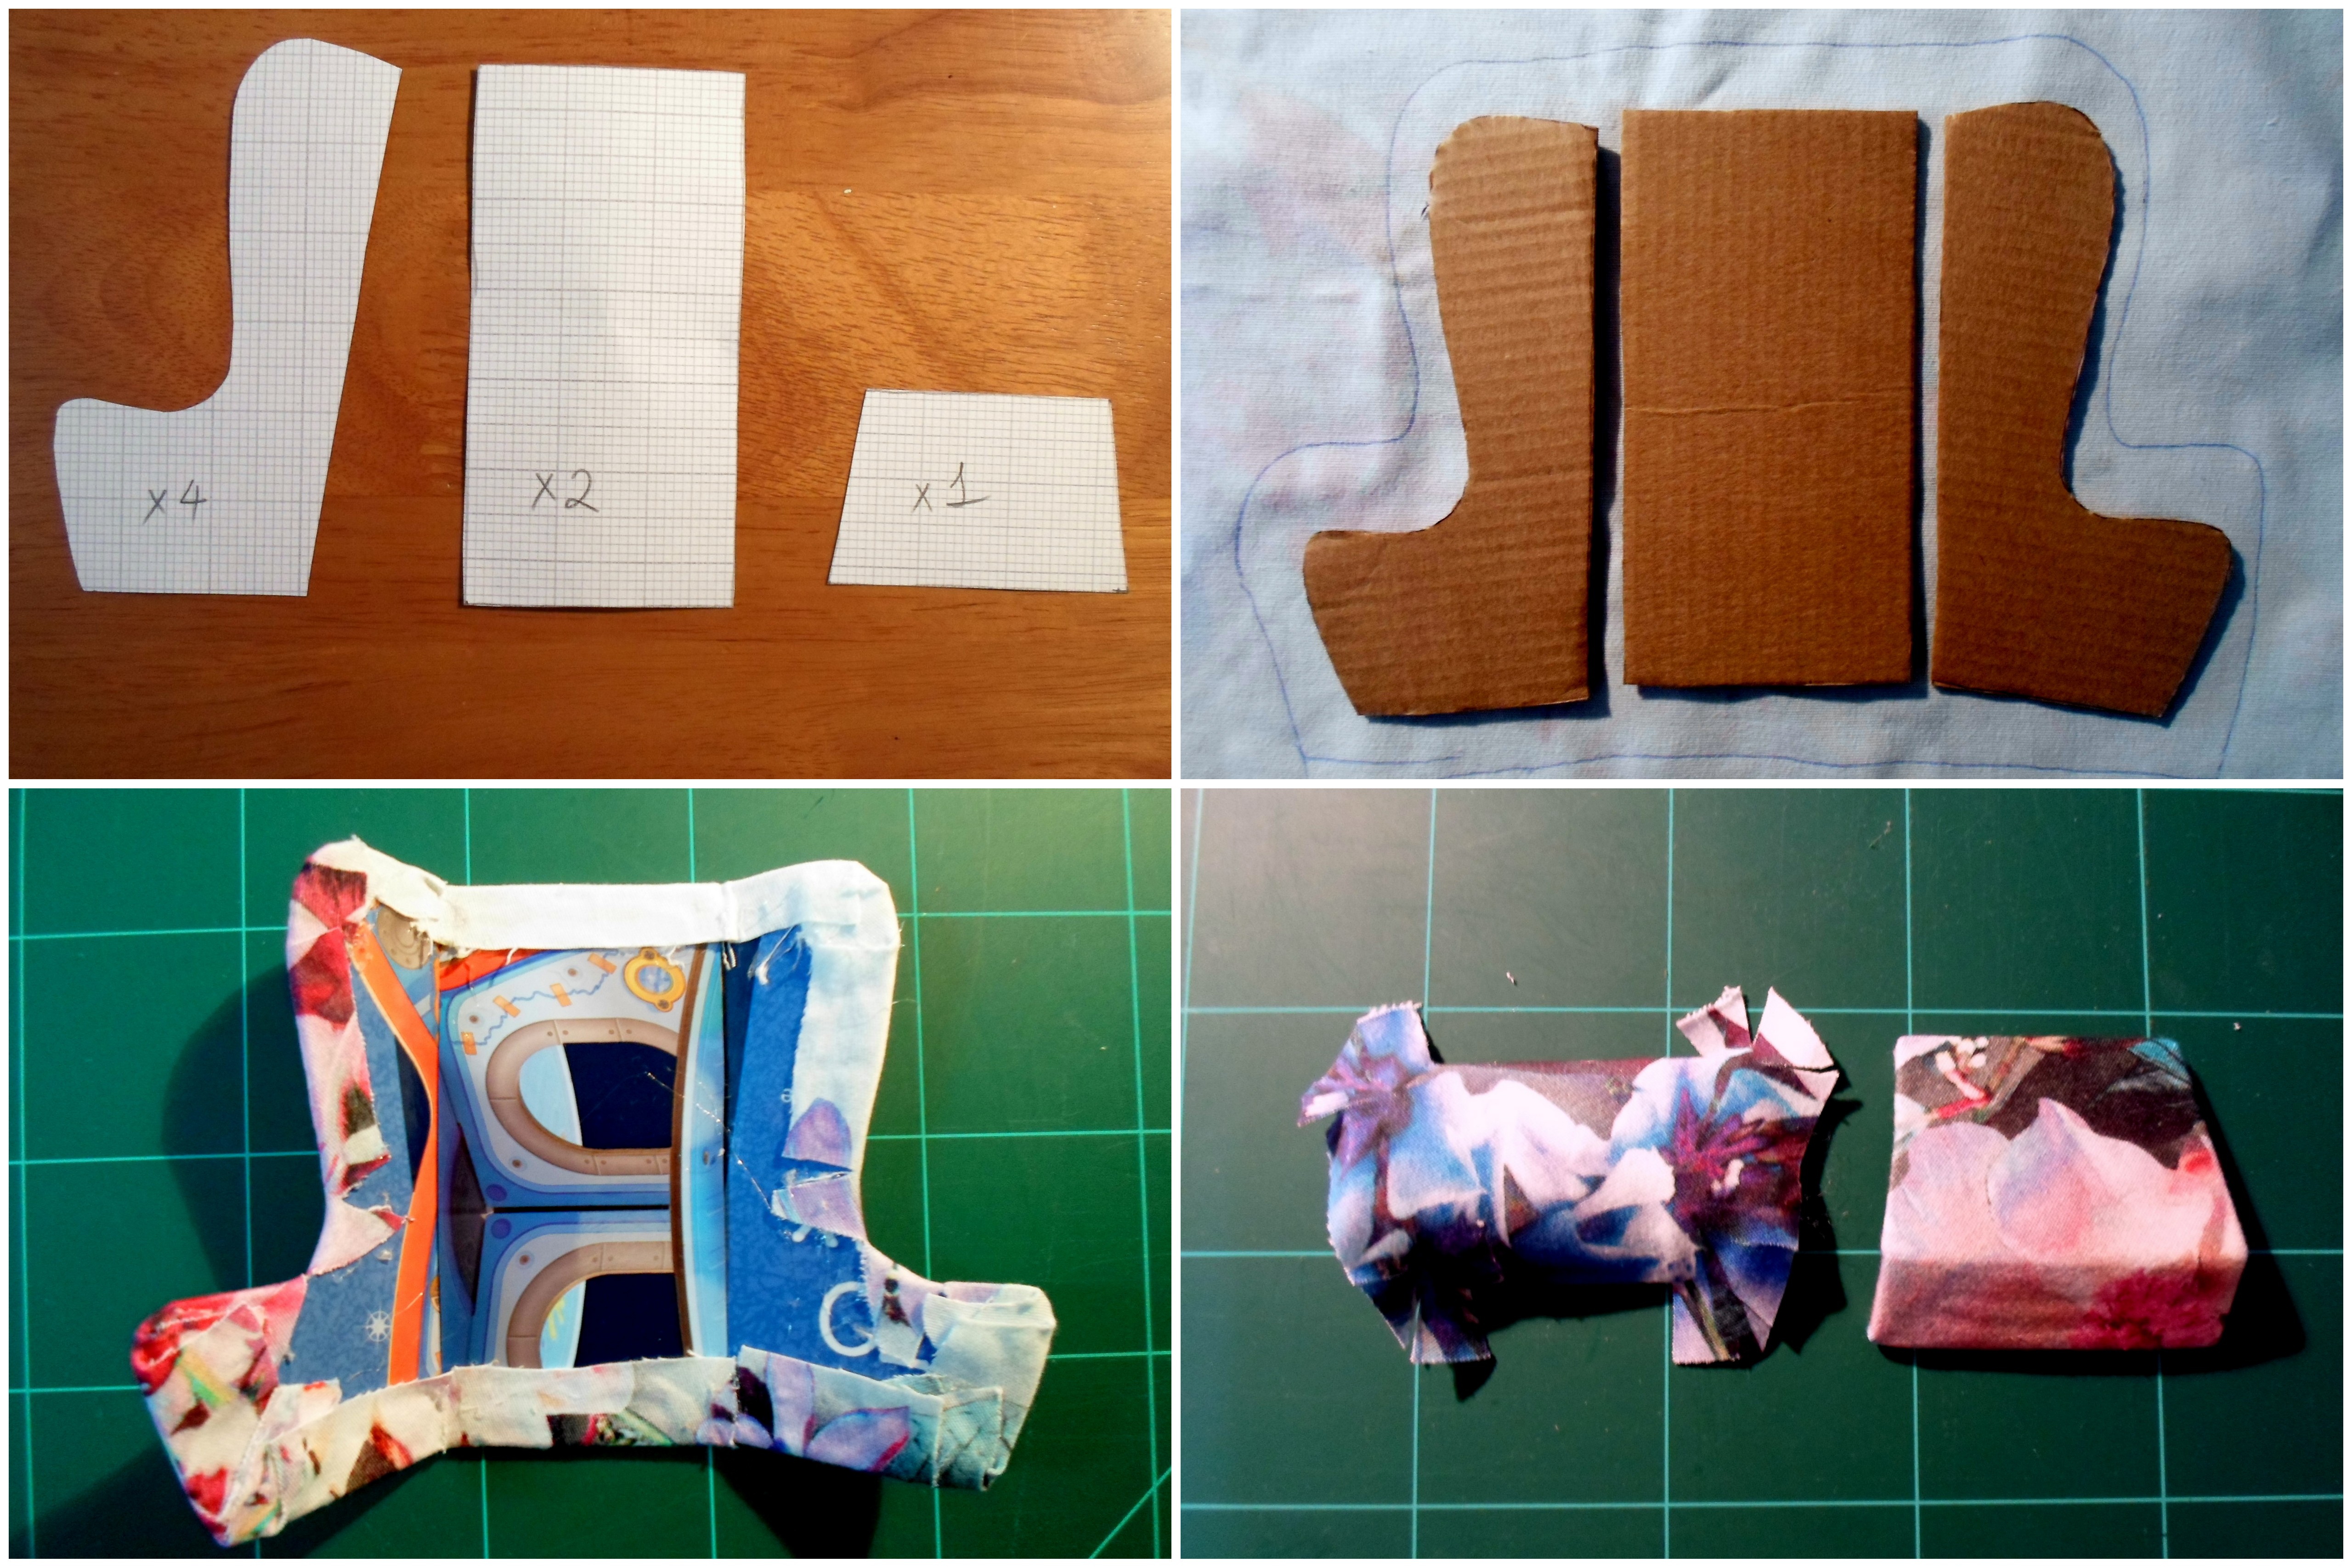
doll furniture

2. Wingback Chair

Blog thumbnail - DIY Dollhouse wingack

I’ve already posted this tutorial previously, but as it is now part of this special room, it seems fitting to mention it again. You will need some cardboard, scrap material, glue-gun and some trimming, i.e. string.

Doll chair4

3. Crochet Rug

Blog thumbnail - DIY Dollhouse crochet rug

This is a beautiful touch to any dollhouse room! A super easy wonderful tutorial is found here, however when I did mine, I kind of just went with it, and it came out. Follow your instinct!

4. Curtains

Blog thumbnail - DIY Dollhouse curtains2

These curtains were very simple. I had some Ikea curtain material left over. That was cut to size, draped over a BBQ stick, held with beads and glue-gunned to the wall.

5. Lamp

Blog thumbnail - DIY Dollhouse lamp2This was a bit of an interesting treasure-hunt. I found all these caps and lids from eye drops and toothpaste, and a party horn. Put those together, and you get a contemporary lamp!

doll furniture2

6. Footstool/Ottoman

Blog thumbnail - DIY Dollhouse footstool2
This started with World Cup and loads of Pizza… I had all those three legged tables that come with pizza. They had to be used somehow, and this is how. Take six of them and *puff* make an ottoman!

Collages34

Your turn to make it and love it!

If you are like me, crazy for anything and everything doll-size, check out my other posts:

Blog thumbnail - DIY Fabric Dollhouse   Blog thumbnail - Tutorial L-shaped couch   Blog thumbnail - DIY Dream Doll House

5 DIY Party Decorations

Blog thumbnail - DIY party 6
I had a wonderful opportunity to throw a birthday party on practically zero budget! Yes, I said opportunity, not challenge.  I love opportunities like this, push creativity and have a good excuse to browse Pinterest for hours.

Here are 5 wonderful DIY ideas chosen for this party. These particular decorations complement each other very well in more ways than one. First of all, there are two shades of purple, which is not too monotonous yet works together very well.  The economies of scale is another reason for making all of these together, as you make all decoration from the same materials. So, without further ado:

Blog thumbnail - DIY party4
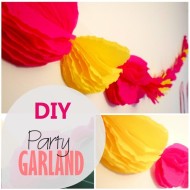
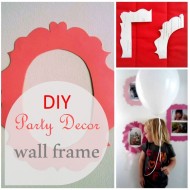
With as little as 5 euro, you can make 5 gorgeous party decorations:

1. Cupcake stand

SAM_6790

This particular piece cost me nothing. A kitchen roll (free!) and two circles cut out from cardboard (free!) fastened together with some masking tape and painted over with white paint. I used acrilyc, cause I had acrylic, but gouache would work just as well. I had some tule left over, so I glue-gunned that, but alternatively, doilies or paper or tape could have been used as a trim.

The idea came from this photo on pinterest, however the link is no longer available.

9f5b057d33e144f3e38f36f20fc589e8

2. Bunting

Girly purple party8Ok, no need for tutorial here, it’s that easy, however I will insert a printout of how to fit 4 flags on one page. Basically, to figure this out, divide the longest side by 5, mark out those lengths on top and bottom edges and join diagonally.

I used white and purple A4 sheets of cardboard paper.

Presentation3


3. Pinata

For this project you will need crepe paper (or tissue paper), cardboard box, scissors and tape.

Girly purple party4

An excellent tutorial is found here.

village-voices-pinata-diy2

4. Paper Stars

Girly purple party5
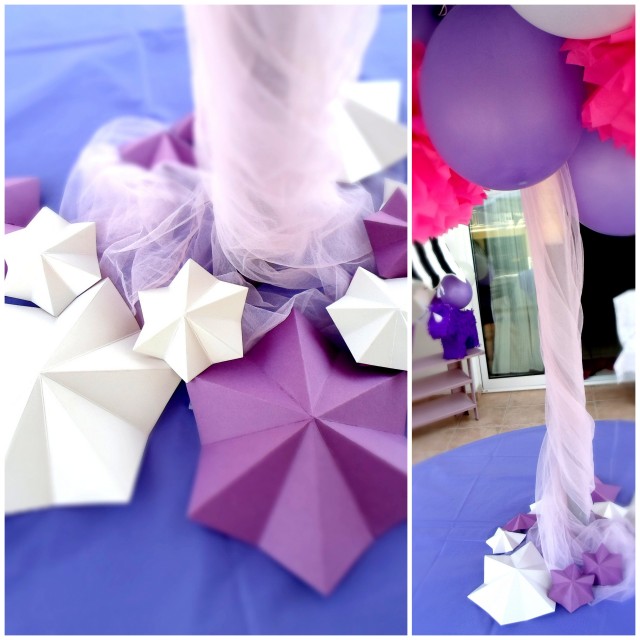
The center piece of our table was unfortunately a grey umbrella. To hide it, I wrapped it in pink tulle and scattered some pretty white and purple stars. To make these you just need to cut out hexagons from paper and fold away. That easy! Alternatively to hexagons, you can cut out star’s of David and fold them the same way. I have designed a print-out for you so you don’t have to:

Presentation2

And last but not least,

5. Giant paper flowers
Girly purple party6
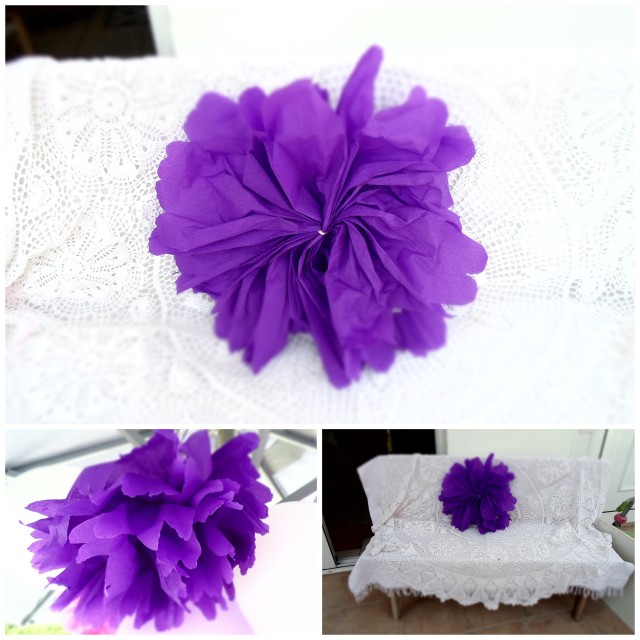
The tutorial on pinterest is excellent, but the link is lost. Here is the photo Tuto using only some tissue paper and string:

1513189_519958678118206_892056647_n

Four packets of crepe paper, some string and white and purple cardboard cost me  less that 5 euro! Hope this will help you planning your party and not worry about the budget!

SAM_6803Make it and love it!

If you enjoyed this post, maybe you will enjoy these, too:


Slide1  Blog thumbnail - Tissue garland   Blog thumbnails - wall frame

DIY – Coffee table

Blog thumbnail - DIY Coffee table3

Since we got married, which was not that long ago, only seven (blissful) years, we’ve bought four coffee tables. Three of them were from Ikea, and one from Elinas, a DIY center. Not all were the cheapest version available, so an average of two years per coffee table seems a little too short. Fair enough, I’ve got two baboons, who eat with their feet as much as with their hands and my daughter who is a toddler – what do you expect? The tables face a fair amount of “wear and tear”. First thing that usually “went” were the edge strips that cover plywood. With Ikea coffee tables, it was also the surfaces, that first changed colour, then got scratched, then swell up. One of the Ikea tables eventually broke into two halves – yes, that happens!Coffee table

This is my recent DIY Coffee Table – I have great hopes for it! Finally, I gathered enough courage not to buy a coffee table from Ikea. Sure enough, on one of the local “Buy, Sell, Swap” sites, I found this little table for sale. From the photos sent to me, I could tell that top was laminated plywood, which I hate oh-so-very-much, but the base and the legs looked like decent type of solid wood. So I bought it, looking forward to some creative D-I-Wifing.

SAM_6727

It was clear that the top panel had to be replaced with something more durable and eye pleasing. Removing it was not hard, it was attached with screws from the bottom, no glue. I am pretty sure it was handmade by someone. The legs are very similar to the wood used for veranda roofs in Cyprus – nice sturdy logs!

SAM_6733

At a DIY centre, to my utmost delight, they sold wooden panels that were just perfect size for the base – I did not even have to use my saw! Quick sanding, couple coats of white primer (it’s not too shiny) and it was done!

A table that responds to all our needs – and hopefully will withstand corrosion that comes with the territory!

SAM_6770

Make it and love it!

If you liked this post, perhaps you will also like these:

Blog thumbnail - Floor Cushion   Blog thumbnail - DIY Chalkboard Doll house   Blog thumbnail - DIY Keepsake Shelves

DIY Fabric Dollhouse


Blog thumbnail - DIY Fabric Dollhouse

My dollhouse obsession continues! I don’t know what it is about tiny little houses, but I am absolutely crazy about them! I wonder if there is a name for this crazy obsession. Dollhouse-itis.. Dollhouse-a-mania? SAM_6706

I think my favourite part of creating a little house is to see little hands play with it. This is a picture of my wee son, investgating. He’s too cute!

SAM_6720

The little fabric house is actually sewn for my cute niece, who just turned 2! I am really hoping she will love it.

There is a perfect little tutorial with pictures right here. Make sure you visit it, it’s great!

If you liked this post, and share my love for anything miniature, check these out:

Blog thumbnail - DIY Chalkboard Doll house Blog thumbnail - DIY Dream Doll House Blog thumbnail - Cottage Cushion