Dollhouse – basic decor, 1st layer

Blog thumbnail - DIY Dollhouse decor

This is definitely one of my favourite parts – pretending to be an interior decorated based on what I’ve seen and learned on Pinterest.  Hobbies do provide a way of escape, and this is where I escape to, this is my outlet.

So far, I’ve worked on curtains, a rug, rope ladder and painting walls. This is what I got thus far.

Curtains were made our of some left over Ikea curtain material. I decided to make them all the same, all in white.

They were very easy to make. Cutting fabric to size, then iron out the seams (I actually use hair straighteners to do this), and then create an insert where the rope should go, tying it into loops on both sides.

SAM_7093SAM_7092SAM_7097SAM_7101

To attach the curtains to the wall, I used little loops that screw into the wall of the dollhouse. Nice and easy.

SAM_7111

As for the rope ladder, this is actually a bit of a cheat. I could not figure out how to make proper wooden staircase, I don’t have the right tools, nor know-how. So, opting for a simpler rope ladder seemed like a liable option, which actually turned out very cute!

SAM_7164

Some wood glue to hold it in place – perfect!

SAM_7155

I also made a little woven rug, and I plan to make more.

SAM_7123

It is a very safe beige grey colour, very boring, but then I do have to consider that a host of pre-preschoolers will be playing with this every day, so my aim is to make it last.

SAM_7117

All it takes is some fabric braided into long strands, and voila, you are doing it!

SAM_7084

Painting the walls was an exciting part. The walls had to be different enough to create interest, yet similar enough to look cohesive. There had to be some print, some solid colour, some variety in colour, maybe even shade of colour… this is what I came up with:

SAM_7149

Dining room:

SAM_7161

Entrance into the kitchen:

SAM_7162

Kitchen:

SAM_7160

Sitting room:

SAM_7156

Rope ladder leading upstairs:

SAM_7143

SAM_7158

Bedroom:

SAM_7157
SAM_7154

This is something that I’ve seen pinned time and time again on Pinterest. It had to be done. I used a little cross-stitch mesh from my daughter’s craft supplies to draw the crosses, which I have simply drawn with markers:

SAM_7132

The bathroom:

SAM_7159

The Kids’ room (boy or girl):

SAM_7150
All in all, it seems to work together.

SAM_7146

SAM_7147

Furniture next!

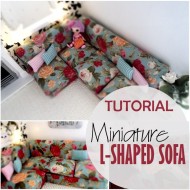
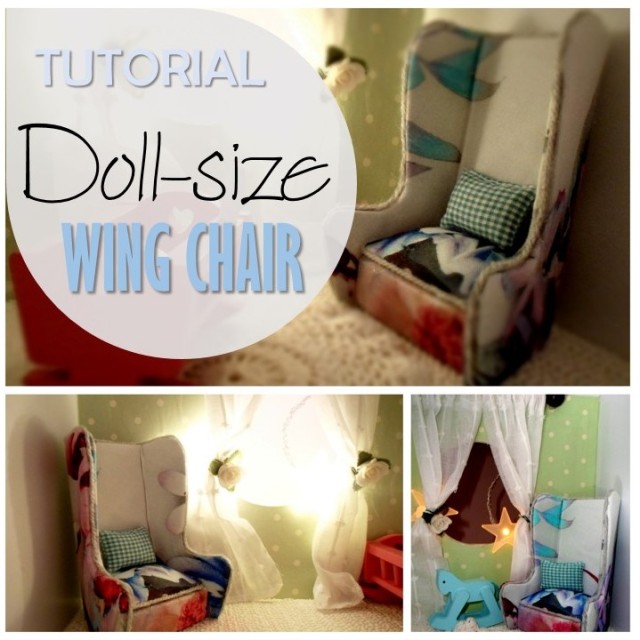
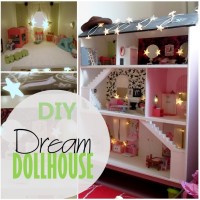
If you liked this post, check out my other explorations with dollhouse tinkering:

Blog thumbnail - DIY Dollhouse Blog thumbnail - Doll House corner couch Blog thumbnail - DIY Dream Doll House

6 Awesome Dollhouse DIYs

Blog thumbnail - DIY 6 dollhouse crafts

Tinkering with dollhouse again? What?! Yep, it’s true! I have managed to put together a beautiful sitting room of wonderfully eclectic style pieces – pretty much all handmade from materials that anyone could easily find around their house. I love making something out of nothing and this is one of my ultimate creations! This is what the room looks like:

SAM_6876

With every DIY, you will find a quick picture instruction or a link to where a coherent tutorial might be found. With these simple 6 Dollhouse DIYs, you will pretty much complete one whole room! Enjoy!

1. Popsicle stick frame

Blog thumbnail - DIY Popsickle stick frame2

You will need 4 Popsicle sticks, a tiny picture that you are wishing to frame, some cardboard and a glue-gun! Then follow the following steps:

doll furniture

2. Wingback Chair

Blog thumbnail - DIY Dollhouse wingack

I’ve already posted this tutorial previously, but as it is now part of this special room, it seems fitting to mention it again. You will need some cardboard, scrap material, glue-gun and some trimming, i.e. string.

Doll chair4

3. Crochet Rug

Blog thumbnail - DIY Dollhouse crochet rug

This is a beautiful touch to any dollhouse room! A super easy wonderful tutorial is found here, however when I did mine, I kind of just went with it, and it came out. Follow your instinct!

4. Curtains

Blog thumbnail - DIY Dollhouse curtains2

These curtains were very simple. I had some Ikea curtain material left over. That was cut to size, draped over a BBQ stick, held with beads and glue-gunned to the wall.

5. Lamp

Blog thumbnail - DIY Dollhouse lamp2This was a bit of an interesting treasure-hunt. I found all these caps and lids from eye drops and toothpaste, and a party horn. Put those together, and you get a contemporary lamp!

doll furniture2

6. Footstool/Ottoman

Blog thumbnail - DIY Dollhouse footstool2
This started with World Cup and loads of Pizza… I had all those three legged tables that come with pizza. They had to be used somehow, and this is how. Take six of them and *puff* make an ottoman!

Collages34

Your turn to make it and love it!

If you are like me, crazy for anything and everything doll-size, check out my other posts:

Blog thumbnail - DIY Fabric Dollhouse   Blog thumbnail - Tutorial L-shaped couch   Blog thumbnail - DIY Dream Doll House

Tutorial – Doll-size Wing Chair

Blog thumbnail - Tutorial Doll size wing chair

I love anything miniature, and seeing how my L-shaped corner couch tutorial is one of my most popular posts, I decided to respond to all the miniature lovers out there. Here is my tutorial on how to make wing-back chair . Very easy, barely took two hours.

Step 1: Prepare the pattern. I sketched mine myself, about 12cm high. Cut it out, trace it onto cardboard, and cut out 4 side pieces, 2 for the back and one two for the seat.

Doll chair1

Step 2: Place left side, back and right sides next to each other and cut out a pieces of fabric to wrap around the cardboard with about 1 cm allowance for wrapping. Glue the flaps around the cardboard pieces with glue gun. Make incisions around curves for smoother wrapping.

Doll chair2

Step 3: Do the same for the other panel. One will be used for the outer side of the chair and one for the inside.

Doll chair3

Step 4: Glue the inner panel to the outer panel and the seat in the middle. I’ve also added a strip under the seat.  The seams between the panels were covered with grey yarn.

SAM_5636

I love how “Grandmother” it looks, so for me, this seat had to be placed in the kids’ room, next to the rocking horse and baby crib.

Make it and love it!

If you are crazy about miniatures, you will probably like these posts, too:

Blog thumbnail - Tutorial L-shaped couch   Blog thumbnail - Doll House animl rug   Blog thumbnail - DIY Dream Doll House