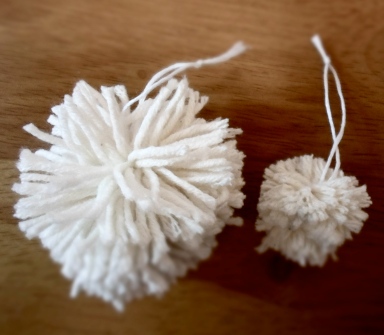
Just before Christmas, I posted about making a DIY Pompom Wreath. That’s when I realised how fun pompoms are – it’s in the name! They are fun, easy and quick to make, and look so playful! I did make pompoms previously for all sorts of other purposes, but when I had to make couple dozen for the Christmas wreath, I fell in love with the idea of a pile of pompoms. It was so cool to have many pompoms, that I’ve decided to make something else, using a pile of pompoms. This wonderful chandelier was the result!

As usual, when making something for my kids’ room, I have the challenge of creating it in unisex colours, as my boy and girl share a room. I often go for neutral colours, greys, whites, beige… But when I went to Fasouliotis (local yarn shop), yarn was available in so many vibrant colours, it would a pity to forgo such an opportunity. So I went for loud yellow, raspberry pink, soft blue and quieter tones of grey and white.
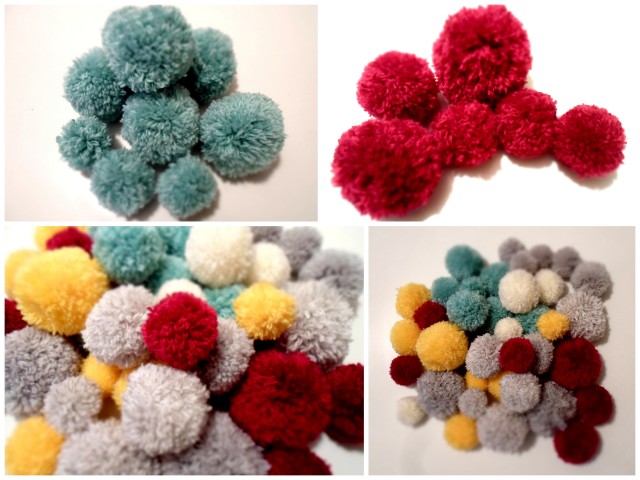
For a chandelier like this, you will need 6 larger sized pompoms, 18 medium sized ones and 18 little pompoms. Colours varied for different sizes.
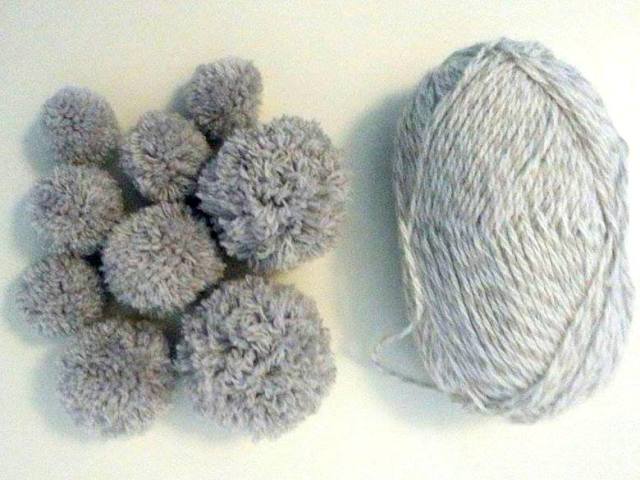
From one ball of yarn, you can get approximately one or two large pompoms, three or four medium ones, and five to six small pompoms. I used 6 balls of yarn, just like the one in the picture above. As it is not for wearing, the quality of wool is of no consequence, so I bought mostly acrylic yarn for 1.20 euro each (for some odd reason, grey was on 20% sale on top of that).
The pompoms then have to be arranged as shown below:

I had a cheap lampshade that I bought from IKEA’s discounted section and stripped it of whatever was on it. Additionally I made a wire ring, which both served as a skeleton for my pompoms to go on.

This is how the pompoms were arranged. Each “leg” was made by stringing pompons and rings together. Starting with a small pompom, followed by two medium and then one large pompom. Then there was the big ring, another medium pompom, two small pompoms and the other ring.
The metal rings were wrapped with light grey yarn to make them look like an intentional part of this composition.
I didn’t have any pattern to the way colours were arranged, because I do like some unpredictability. And if something were to go wrong, it would be easier to fix. So in a way its a planned chaos. 
I did have be careful with keeping all sides equal in length to balance it, so I did do my final tweaking with a glue gun.
The end result is pretty cool. The real surprise came when I put the light on – the shadows cast by the chandelier were pretty cool!

A funky chandelier that looks great during the day and night – pretty awesome.

Make it and love it!
If you too enjoy DIYs with pompoms or yarn, here are a couple of suggestions: