Both my children got mummy-made quilts. I don’t think it’s old fashioned at all, I think it’s traditional. A quilt is something a little one can have with them for years to come. My daughter spent countless hours with her “blankie”. She learned to crawl by lying around on it; that’s where she sat up for the first time on her 6 month’s “birthday”; she named all her plush toys while playing picnic on this same quilt. I am hoping that one day she will be oh-so-sweetly reminded of her babyhood.
Quilts are a great present for another reason, too. While a quilts in Zara Home are at least 80 euro, this one cost me a fraction of that! Plus this particular one is a Chevron Quit! So IN right now!

So, grab your enthusiasm, the below list of essentials, and your are on your way to making a quilt!
You will need:
- 1 square metre of floral fabric
- 1 square metre of white linen fabric
- 2 square metres of grey linen fabric
- 1.5 square metre of fleece
- matching thread, pins, scissors, ruller, etc.
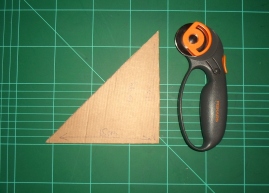
Step 1: Make a template, a right angle triangle, 15cm by 15 cm.
Step 2: Cut 48 floral triangles, 66 grey linen triangles, and 66 white linen triangles.

Step 3: Arrange the triangles in the chevron pattern as shown below using all the triangles.

Step 4: Sew all the diagonals to create squares. Then sew the squares into panels, which then are sewn together to give you a finished quilt face. See below.

When sewing these together, make sure to align all the corners perfectly! Linen tends to skew, so use lots of pins to get those corners just right!

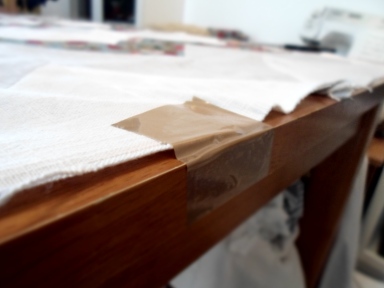
Step 5: Once all the pieces are sewn together, lay the quilt wrong side up and secure it in place with cello-tape.

Step 6: Cut out grey linen and fleece fabric exactly the same size as the front side. Stitch them together.

Step 7: Cut the borders out of the grey linen. You will need to do some maths here. The borders I made are 10cm wide, plus 2cm for seam allowance (that’s folded, so unfolded its 24cm). Measure your final quilts width and length to calculate your borders lengths.

Step 8: To sew the borders together, follow steps below.

Step 9: (Optional) Embroider the border. I have an easy step-by-step tutorial on how to do that here:

Step 10: Iron the seam allowance inwardly, then pin it onto the quilt, making sure the border seams on the back and the front align. Together with the borders, the width of my quilt came to 130cm by 110cm.

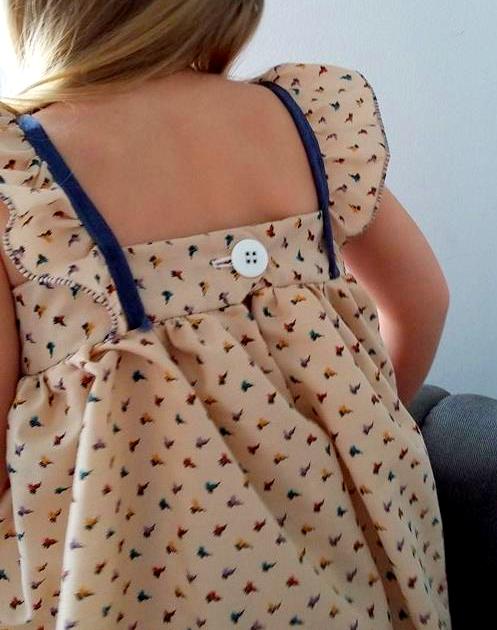
Step 11: (Optional) Under the border seam I tucked in a ribbon loop on one side and two 12 cm ribbons on the other side. These can be used for baby to play with, to tie toys to, or to wrap the quilt (see pics).


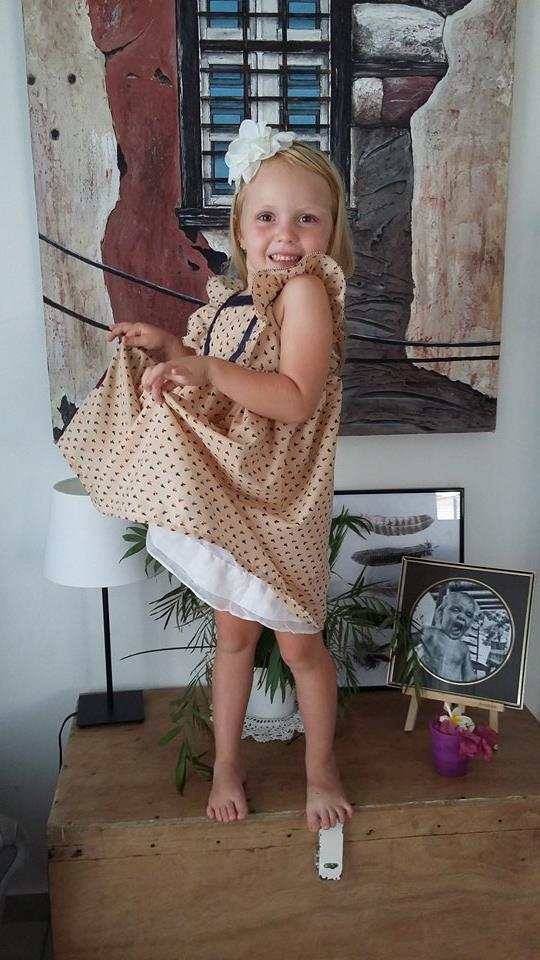
Here is the finished quilt!

 Craft takes on a whole new dimension when you get to make something that is actually useful. It is especially gratifying when you can tell your spouse that in fact you saved money by making this dress.


